

In order to customize the RP2W robot to our own needs and specifications, we decided to change various aspects of the base model to make it our own and appeal aesthetically. The main changes came via the plastic chassis which encases the original robot. In this blog, I will give a step-by-step tutorial on how to 3D print a chassis and other objects in general.
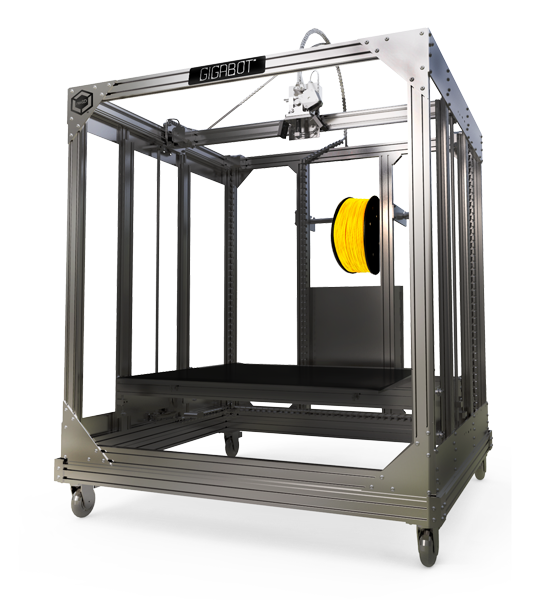
Note: This tutorial is meant for usage with the re3D Gigabot 3D printer. These instructions may not apply in certain areas to other printers.
3D Modeling with 123D Design
The first step in designing the shell uses the program 123D Design, created by Autodesk. You can download 123D Design here. Before constructing any sort of object in 123D Design, I highly recommend watching the tutorials that can be found on the 123D Design website. These will teach you the basics of 123D in terms of how to create and manipulate objects. Once you’ve familiarized yourself with using 123D Design, you can create your own 3D models. My chassis was created with only 3 ellipses and 1 cube, which I then modified to form the actual model.
One iteration of the model I created in 123D Design

Once you’ve created an object, you need to export the object as a .stl file in order to open the file in Simplify3D.
3D Printing with Simplify3D and Pronterface
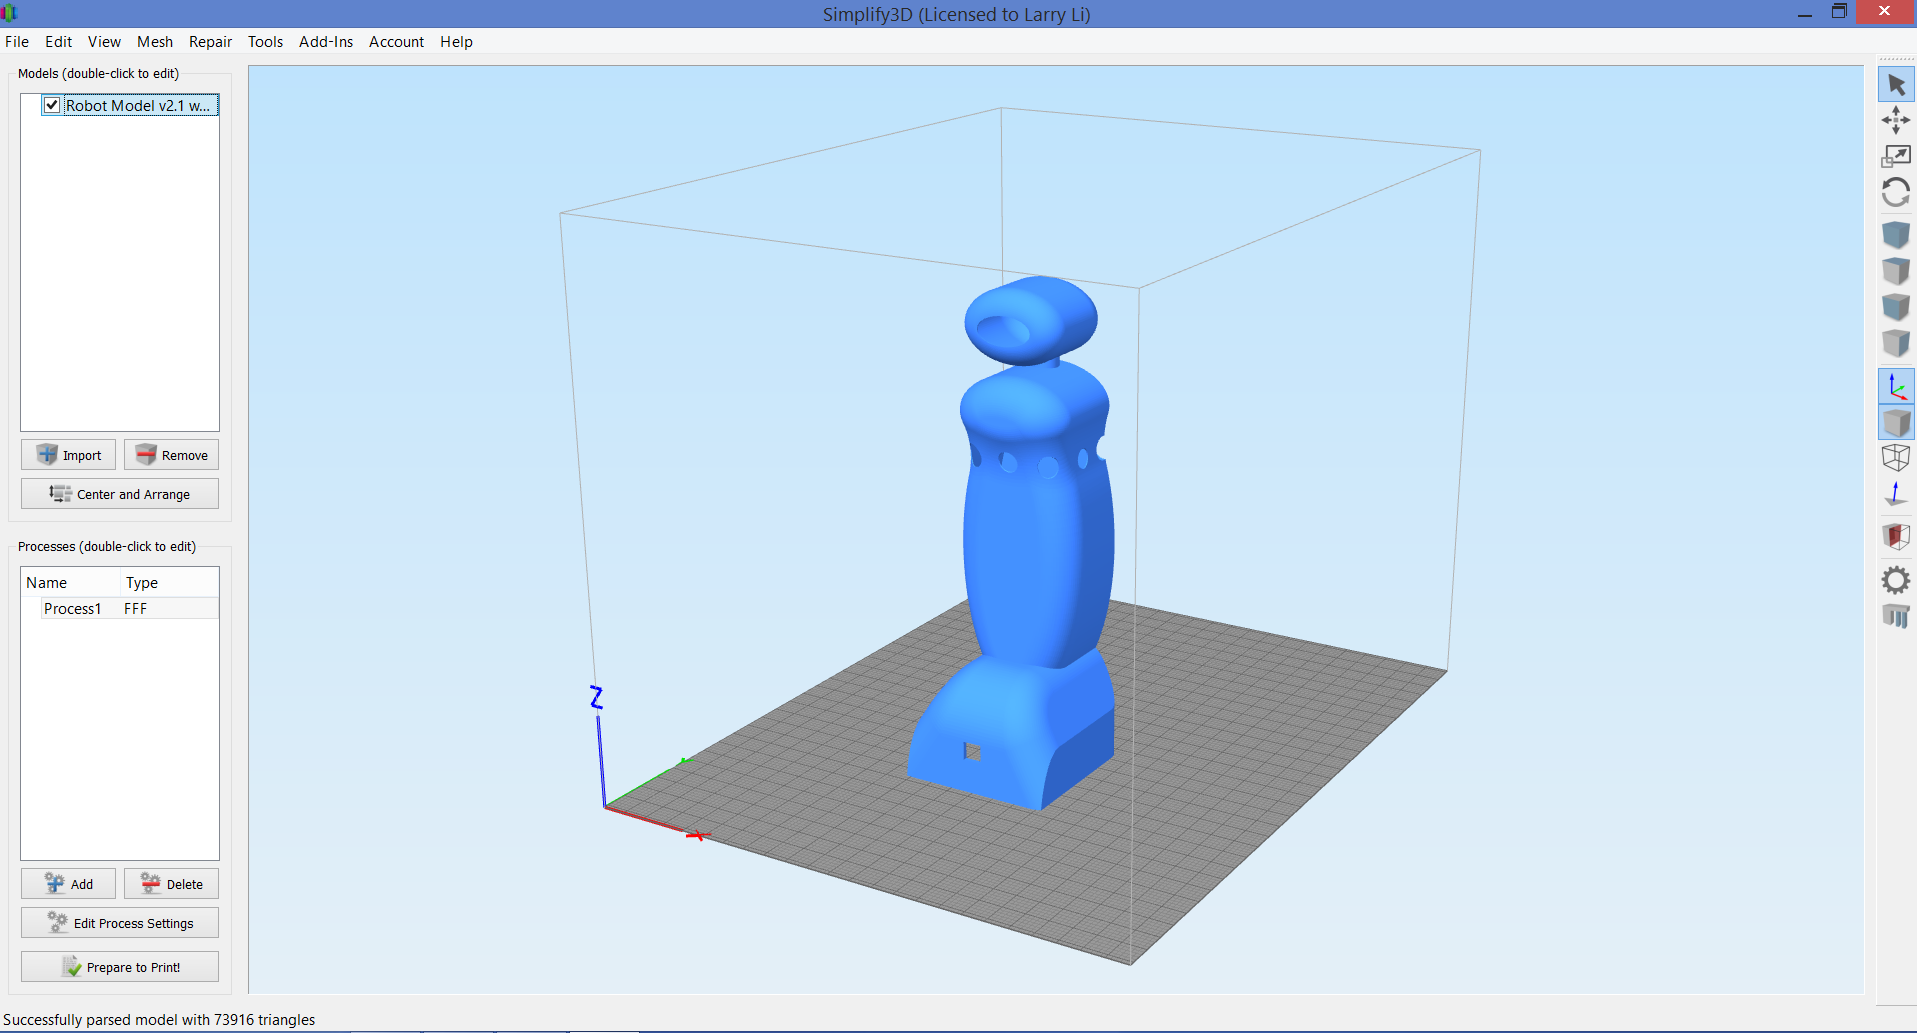
Now that you’ve created an object, you need to make it 3D printer-ready. To use Simplify3D, you must buy the software from simplify3d.com. Once you’ve acquired the software, open up SImplify3D and configure it to use your 3D printer, which, in our case, was the re3D Gigabot. Then import your model via the import button on the left side. Afterwards, using the process section, configure the model to print the way you wish. This forum post has a great guide on each tab for controlling the various aspects of the model like infill, layers, and more. After you’re satisfied with your options, click prepare to print, and Simplify3D will generate a preview for you. Then click Save Toolpaths to Disk and save the G-code. (Another method is to save the G-Code to a SD card, which you can then insert into the printer for it to automatically start printing without the use of Pronterface.)
The model generated in Simplify3D
For the final step in 3D printing your object, download Pronterface, a program which transfers the G-code of the model to the printer for execution. Instructions for downloading and configuring can be found here (for the Gigabot printer). Now that pronterface is setup and active, click load file, and select the G-code that you saved previously with Simplify3D. Connect your computer to the 3D printer, hit print, and you will begin to 3D print parts for your own robot.
Pronterface’s UI

Although your print may not be perfect the first attempt, don’t give up if your first tries don’t turn out the way you want. The more practice and experience you obtain with these programs, the better your prints will be. Becoming proficient in each software and learning creative ways to manipulate them will greatly improve the quality and ingenuity of your prints.
